Web Frontend Development on Linux
Why use Linux? While Mac has countless advantages, its relatively high price puts many students off. When I started my internship last year, I was using Windows 7, and the command-line experience was truly painful—especially for web frontend development where countless tools run in the terminal, such as numerous Node.js tools. Switching to Linux made everything much smoother.
Why Use Linux
While Mac has countless advantages, its relatively high price puts many students off. When I started my internship last year, I was using Windows 7, and the command-line experience was truly painful—especially for web frontend development where countless tools run in the terminal, such as numerous Node.js tools. Switching to Linux made everything much smoother.
Choosing a Distribution
I personally recommend Ubuntu, one of the mainstream distros. I suggest using the Gnome Flavor version—the clean and elegant Gnome 3 desktop is very comfortable to use. Ubuntu’s default Unity interface was ugly enough to make me cry. You can also use Fedora, which defaults to Gnome 3. The main difference between them is the package manager: the former uses apt-get, the latter uses yum.
System Installation
I recommend USB drive installation. The recommended burning tool is UNetbootin. Burn the downloaded ISO file to a USB drive using UNetbootin. Before installation, remember to free up a disk partition. The system itself takes very little space—10GB is enough, but I recommend 20GB. I won’t go into the installation details; there are plenty of tutorials online. I suggest following a tutorial for the first installation, and remember to back up important files. Here’s my desktop after installation: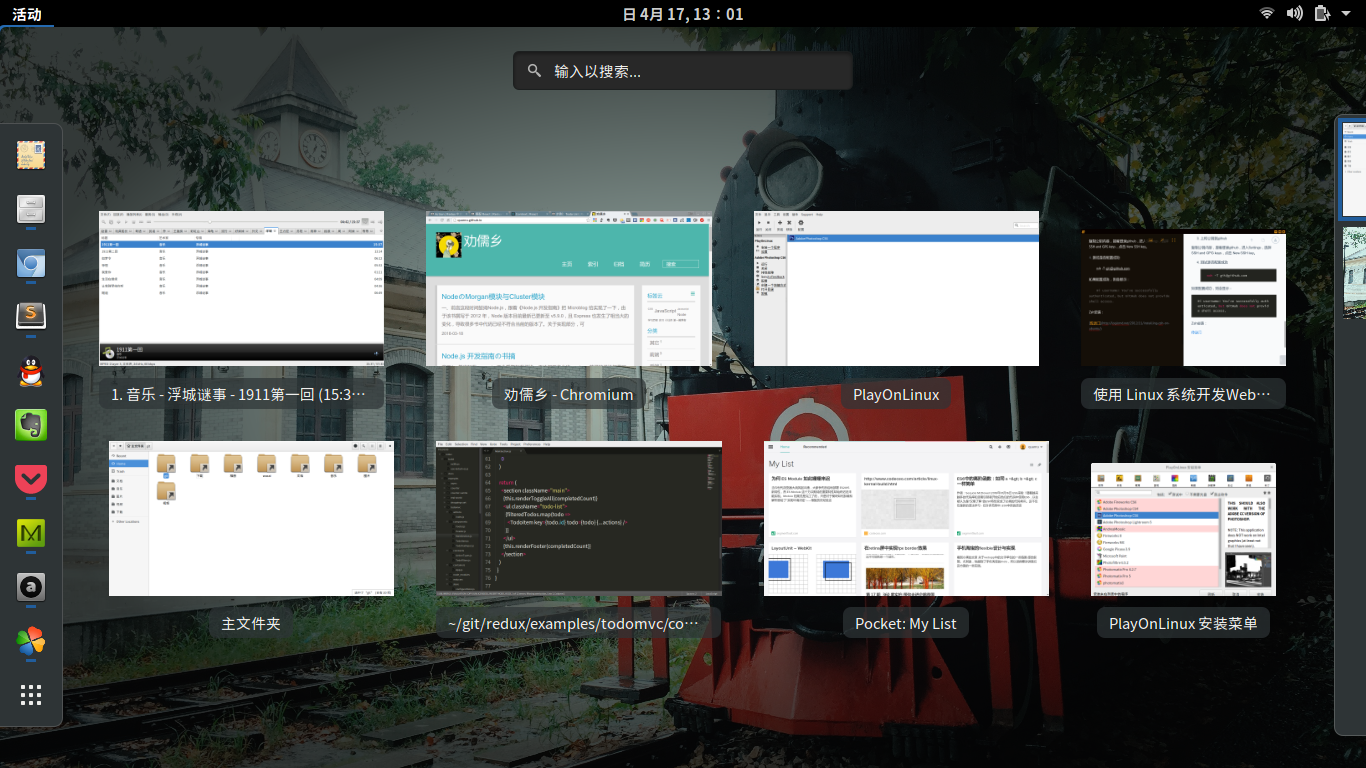
Development Software
Most software needed for frontend development has corresponding Linux versions, such as Sublime, Atom, Charles, WebStorm, and Chrome. You can Google and download them yourself.
Installing Git:
sudo apt-get install git
Configuring GitHub (if you use it, otherwise skip):
Configure git username and email
 git config user.name "username"
 git config user.email "email"
Add the –global parameter after config to set global username and email.
Generate SSH key
ssh-keygen -t rsa -C "email"
Then follow the prompts and press Enter repeatedly to get id_rsa and id_rsa.pub files in the ~/.ssh directory. The id_rsa.pub file contains the public key.
- Upload public key to GitHub
Copy the public key content, then log in to GitHub, go to Settings, select SSH and GPG keys, and click New SSH key.
Test if configuration is successful
ssh -T git@github.com
If configured successfully, it will display:
Hi username! You've successfully authenticated, but GitHub does not provide shell access.
Installing Node.js:
Method 0: Install with apt
    sudo apt-get install nodejs npm
    ln -s nodejs /usr/bin
    sudo apt-get install openjdk-9-jdk
    sudo npm i -g wnpm
    sudo wnpm i -g wac-cli
Method 1: Install with package manager (recommended for beginners)
Install version 5.x:
    sudo apt-get install curl
    curl -sL https://deb.nodesource.com/setup_5.x | sudo -E bash -
    sudo apt-get install nodejs
Method 2: Install and manage Node using NVM, recommended for those with some Linux command-line and Node.js experience:
https://github.com/creationix/nvm
Method 3: You can also install from source. Open the terminal and follow these steps:
Install build-essential, the software compilation toolset for building and installing software from source.
 sudo apt-get update
 sudo apt-get install build-essential
Clone the branch and enter the node directory:
git clone https://github.com/nodejs/node.git && cd nodeSwitch to a stable branch you need:
git checkout v4.0.0-rcCompile and install:
 ./configure
 make
 sudo make install
Find the node installation location and create symlinks:
 whereis node
 sudo ln -s /usr/local/bin/node /usr/bin/node
 sudo ln -s /usr/local/bin/npm /usr/bin/npm
Check node version
node -v
PlayOnLinux && PhotoShop
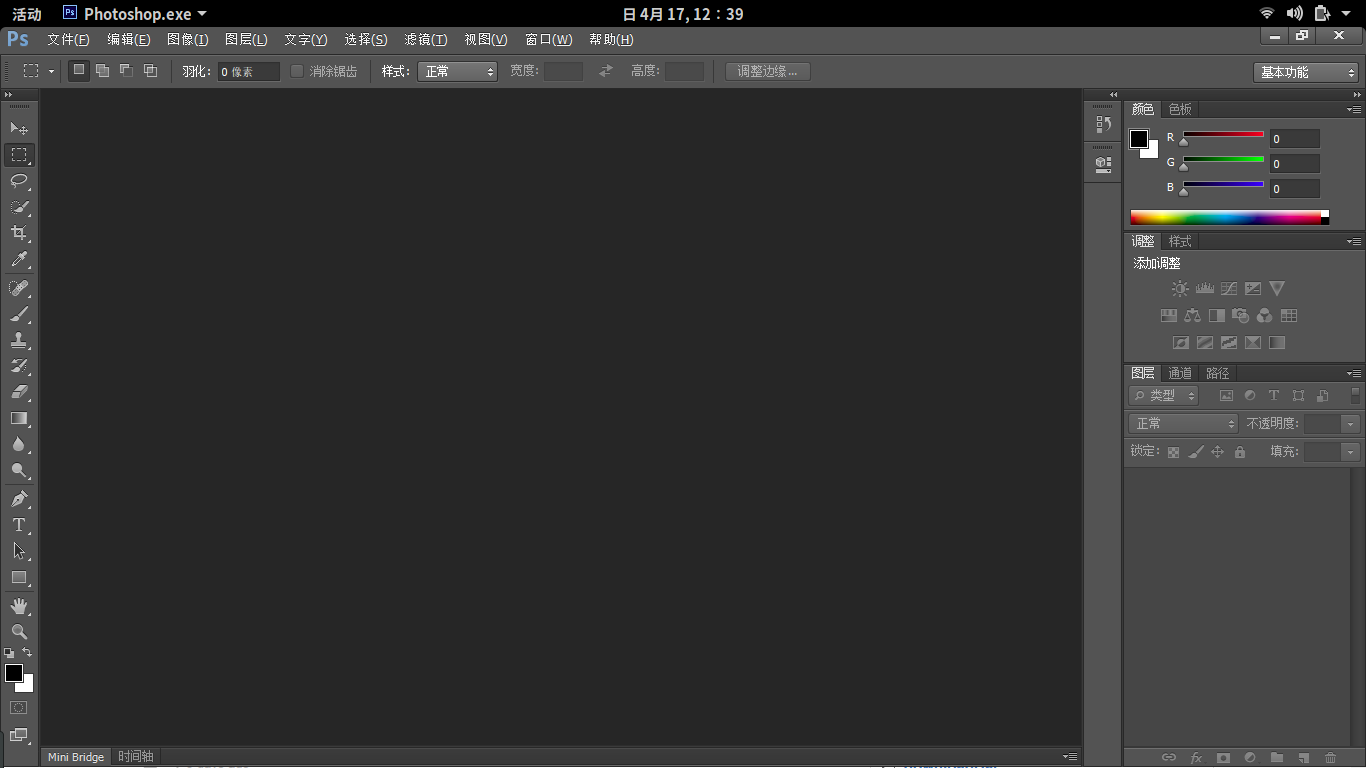
The headache-inducing PhotoShop—Adobe doesn’t have a Linux version. Here we use the Wine approach. I recommend installing PlayOnLinux; you just need the exe file, and PlayOnLinux handles the Wine environment configuration for you. Installing PlayOnLinux requires just one command:
sudo apt-get install playonlinux
After installation, open PlayOnLinux. See the following image for how to install:
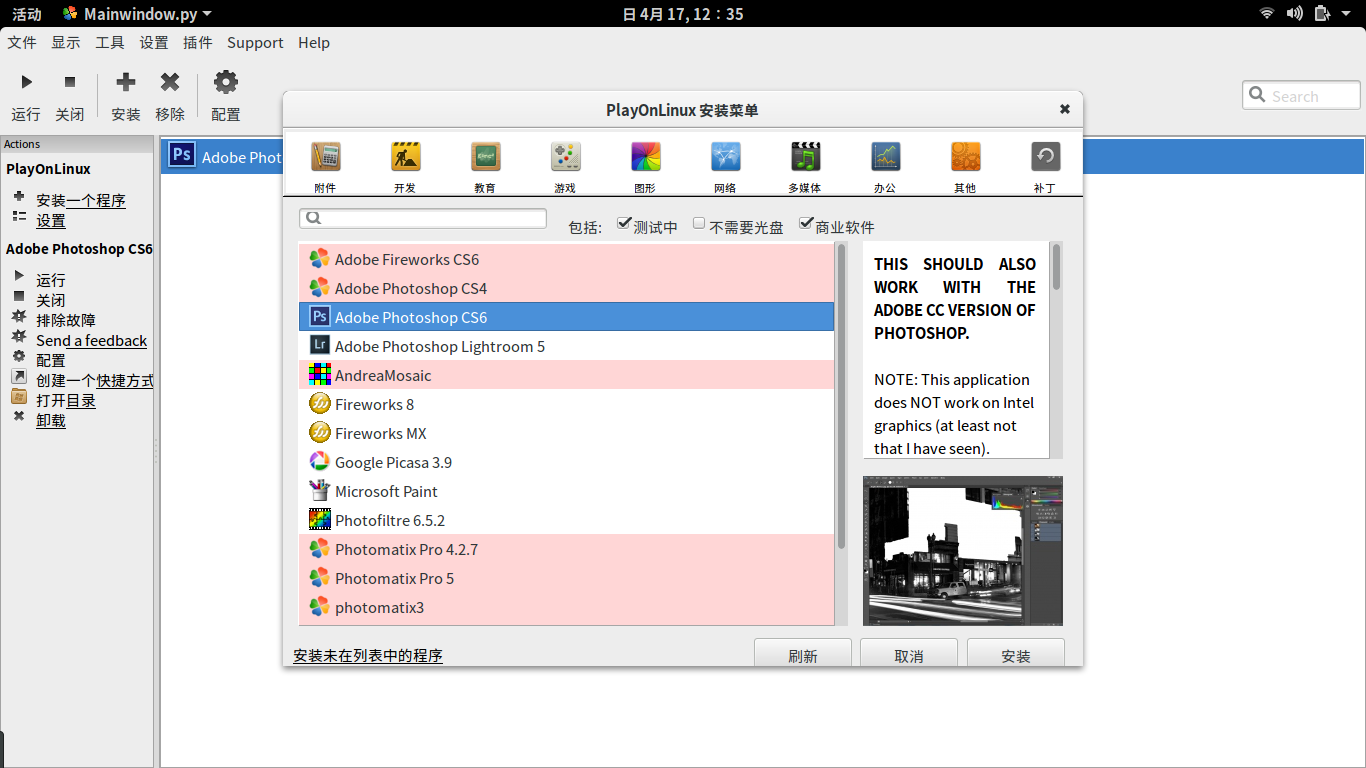
After that, it’s just Next, Next, Next, Finish.
Wine applications may show garbled Chinese characters. See Completely Eliminate Wine Chinese Garbling
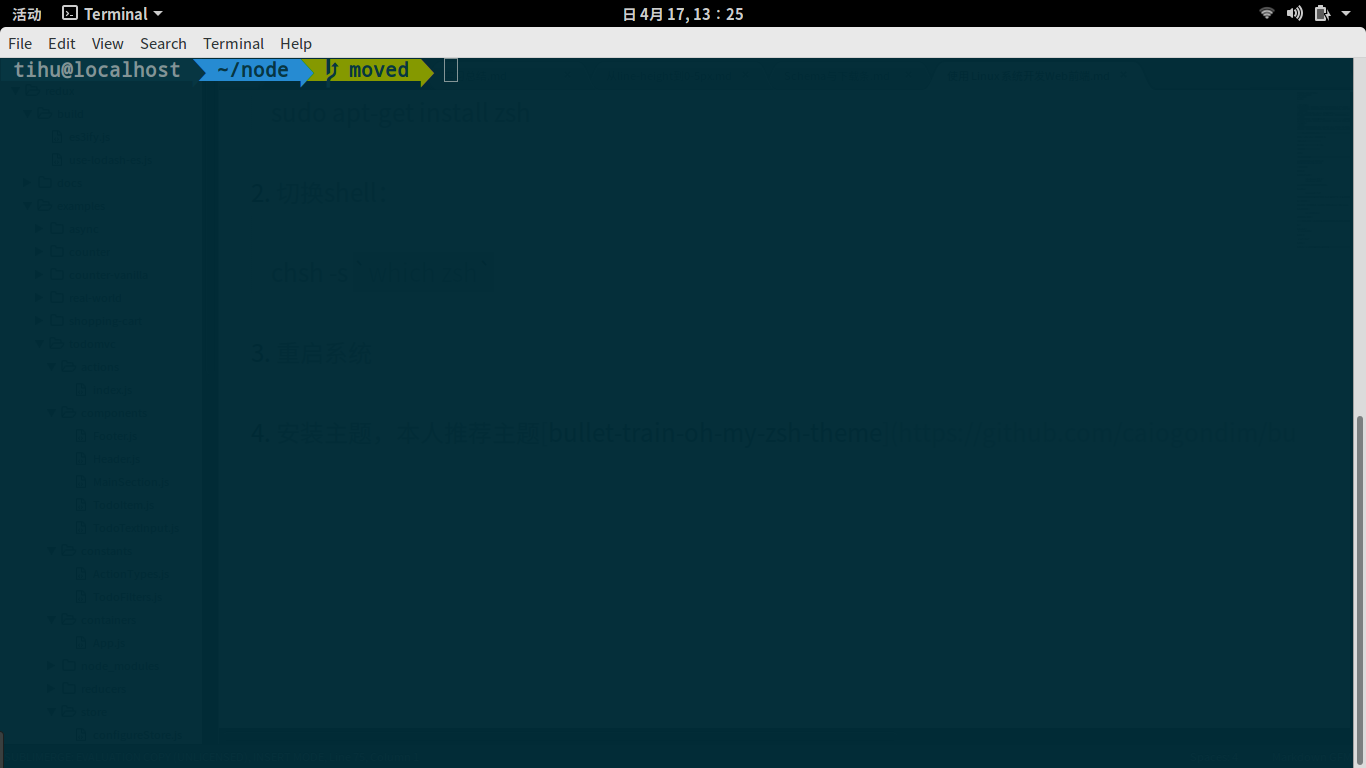
Zsh Terminal:
First install zsh:
sudo apt-get install zsh
Switch shell:
chsh -s
which zshRestart the system for changes to take effect
Install a theme. I recommend the bullet-train-oh-my-zsh-theme
Other Software
easystroke mouse gestures:
sudo apt-get install easystroke
audacious music player:
sudo apt-get install audacious
Web Frontend Development on Linux
http://quanru.github.io/2016/04/17/Web-Frontend-Development-on-Linux